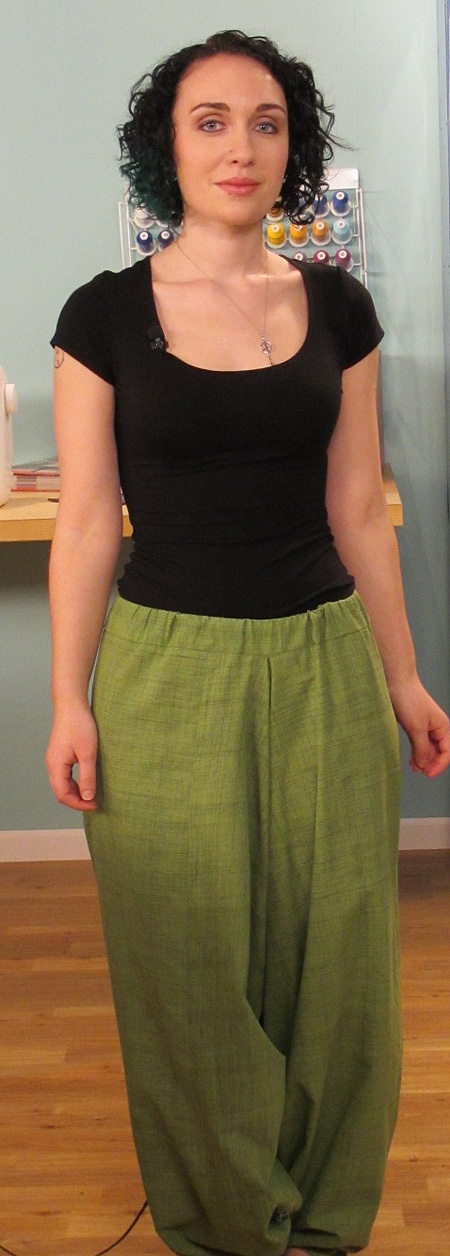
2 ¼ yards of a 45” wide fabric
Elastic or drawstring for the waistband
- Begin by cutting off ¼ of a yard of fabric from the length to use later for the waistband.
- On a large surface open the remaining two yard piece of fabric up completely, with the right side of the fabric facing up.
 
Right Side Wrong side
Fold the bottom, right hand corner of the fabric up and to the left to create a shape that looks like that below.
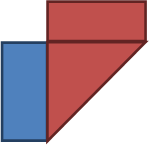
- The V at the top left corner of the folded piece will become the waist opening for the pants.
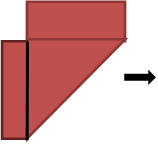
- Now, fold the left edge over to match its parallel as shown below
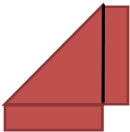 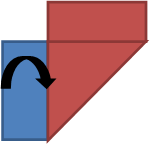 
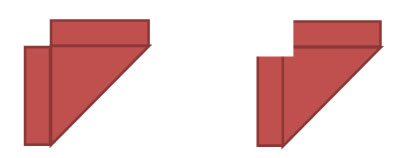
- The black line on the middle image represents one of the two leg seams. Pin this seam together, flip the piece over and create the same seam on the other side.
- Sew the two side seams, and remember to backstitch at the smaller openings.
- As mentioned before, the big V will create the waist opening. The two other small openings created at either end will become the bottom hem of the pants. Because of the way that the fabric was folded though, those openings do not necessarily need to be hemmed because they are the selvedge edge of the fabric.
- At this point the waist opening is rather small and needs to be trimmed to accommodate your size. So, measure the largest part around your hips and add about two inches. This will be the size that the waist needs to be in order for the pants to fit comfortably.
- Following the V shape, trim the waist opening to accommodate your measurements.
- Next, trim down the ¼ yard piece from earlier to the size of your waistband.
- When inserting the waistband in the odd shape, be sure to pin and take your time sewing on the sharp angles created by the waist opening.
- After the waistband is in the pants are complete!
Notes
- You can add elastic to the bottom hem of the pants if the opening is too large around your foot and drags on the ground.
- This garment can be worn as both a pair of pants and as a jumpsuit. Just pull the waistband up over your bust and add a belt! If you intend to wear the garment as both pants and a jumpsuit, be sure to make the waistband accommodate both your waist and over bust measurements.
- Instead of adding a waistband with elastic or a drawstring, that can be replaced with a rib knit or a pre-shirred fabric. You can also shirr the extra ¼ yard of fabric to create a shirred waistband that matches perfectly!
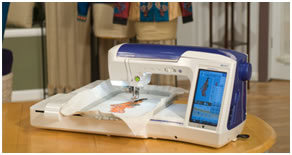
Featured sewing machine in this segment:
Sewing Machine Featured in this Segment:
Quattro 2 – 6700D - Sewing, Quilting, Crafting and Embroidery
 |


