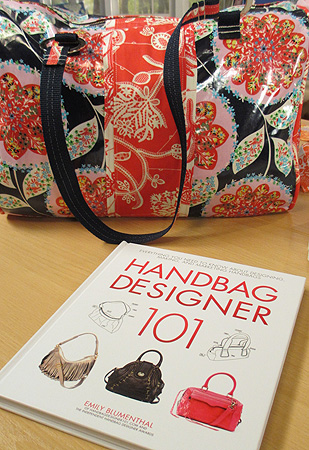
Directions based on directions found in Handbag Designer 101 by Emily Blumenthal. Additional information on starting your own handbag business can be found in the book as well as on handbagdesigner101.com

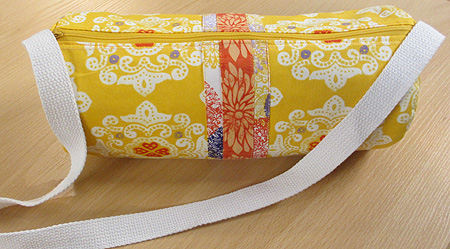
This barrel bag can be made in a variety of sizes, by simply adjusting the diameter of the ends of the bag, it can go from a fun every day bag to a weekend duffle.

For an everyday bag, cut the fabric as follows:
From main fabric, lining and fusible interfacing:
a. Cut 2 6” diameter circles for the ends of the bag
b. Cut 2 rectangles 13” wide by 9” high
1. Fuse interfacing to wrong side of bag fabric, following the manufacturer’s directions.
2. Stitch bag pieces together along one long edge and press the seam open. Repeat with lining.
3. Mark placement of trim down the center of the bag. Align trim and topstitch in place.
4. If you are creating your own trim, cut 2 2” wide by 18” strips for the base, and 1 2” wide by 18” strip for the top trim. Use the Simplicity bias tape maker to automatically turn under and press the edges of your fabric strips OR turn under and press 1/2” along each long edge of the strips.
5. Turn under and press 1/2” along the remaining long edges of the bag and lining. Place the bag and lining wrong sides together aligning the pressed edges. Sandwich the zipper in between the pressed edges and topstitch in place.
6. Place the bag end and lining pieces wrong sides together and machine baste around the edge.
7. Pin the bag end and the bag with right sides together and stitch in place. Finish the seam with a serger or encase the seam with bias binding.
8. Pin webbing in place at each end of bag and stitch in place.
Featured sewing machine in this segment:
Isodore Innov-is 5000 – First Laura Ashley Machine with Embroidery Capability. 
|


