| |
www.itsseweasytv.com |
| 307-2 | Print | Close [X] |
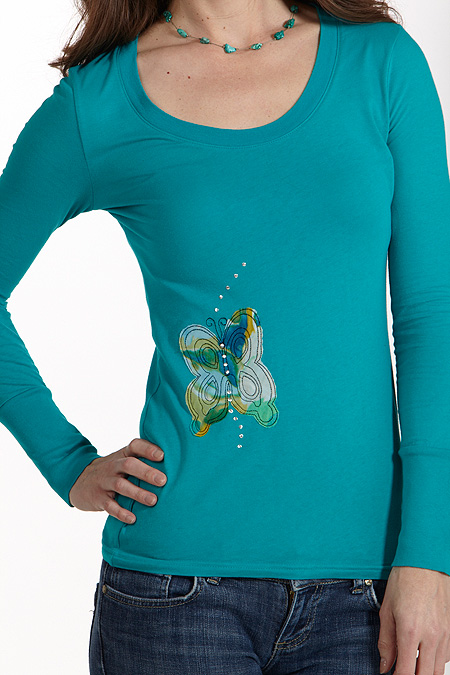
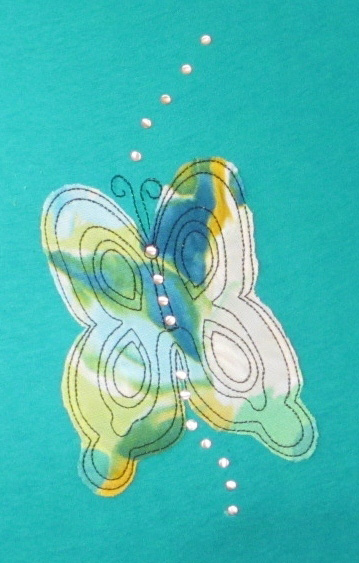
| Eileen Roche positions a butterfly clothing tattoo on the waist of a skinny T. |
For More Information Visit: www.brothersews.com |
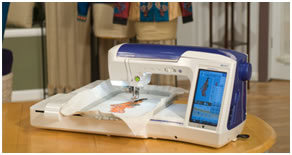
Stabilizer Needle Hoop Design I love this raw-edge appliqué design from Designs in Machine Embroidery Stipple! Butterfly collection. http://www.dzgns.com/shopping_cart/index.php?main_page=product_info&cPath=122&products_id=1151 Now that I have my variables under control, its time to focus on the planning and hooping. Print a template of your design. Place the t-shirt on a dress form and audition the template(s). Verify placement and slide a target sticker under the template to mark the center of the design. Remove the template. Carefully turn the shirt INSIDE OUT and place it back on the dress form. Your design area will now be in mirror image on the form. It might help you see the entire embroidery design again at this point so just tape the template back on the shirt. Flip the template over to view in mirror image and tape it to the shirt. Mark the outer edges of the design with removable chalk. Select your hoop and place it over the design area to verify you have the right hoop. You might want to chalk the outer edges of the hoop. But this is just for reference, it’s not a crucial alignment mark. Remove the hoop and the template. Cut a piece of water soluble adhesive stabilizer larger than the selected hoop. Remove the protective paper from the stabilizer. Adhere the sticky stabilizer to the design area using the chalked marks as a guide. Smooth the stabilizer to the fabric over the form. This can be a bit awkward but you’ll get another chance to smooth the layers after the garment is removed. Remove the shirt from the dress form (don’t dislodge the target sticker). Smooth the stabilizer. Place the shirt over the hoop’s outer ring or over the flat metal frame of Snap-Hoop or Quick-Snap. Place the inner ring inside of the hoop and capture the design area in the hoop. In Snap Hoop or Quick Snap, pull the fabric taut in the frame. Nest the rest of the shirt around the hoop. Attach the hoop to the machine and stitch the design. I often use painter’s tape to hold the fabric away from the design area. Remove the hoop from the machine. Gently peel the adhesive away from the shirt and trim all excess stabilizer. Rinse the stabilizer under running water to activate the dissolving process. Fill a container with this solution: ¾ water; ¼ fabric solution. Soak the t-shirt in the solution for about 30 min. Agitate the water occasionally. Rinse thoroughly. Wash right side out in the washing machine with like-colored garments. Air dry. Once dry, you’ll notice a bit of puckering around the stitches. No worry – once the garment is on, the fabric and stitches will be stretched – and flat! Add metal studs or crystals to expand the design area. For more information visit www.dzgns.com . Featured sewing machine in this segment: Sewing Machine Featured in this Segment: |
Host: Eileen Roche |
| Copyright © 2015 It's Sew Easy. All Rights Reserved. |