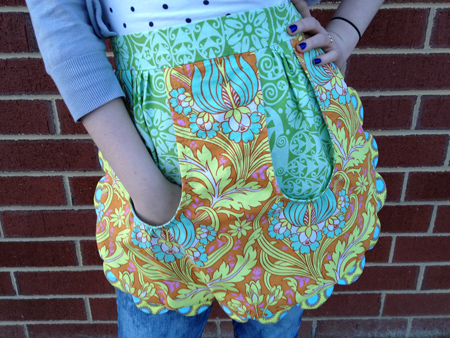
Aprons are coming back! Next time you host a party; wear a flirty apron when welcoming guests. This vintage inspired apron follows a Simplicity® SewSimple™ (#2011) pattern with a few replacements for traditional rick-rack. The scallop edge is created using the EK Tools® Circle Scissor and a little contrasting bias tape finishes off the pockets perfectly! Make an apron for yourself or a friend.
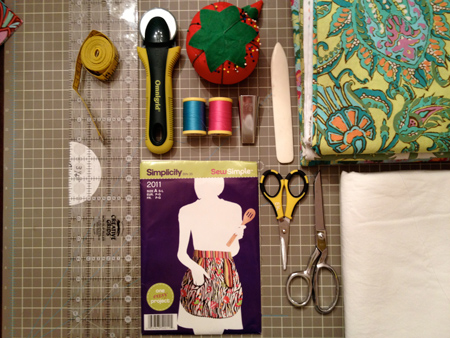
What You Need:
Sewing machine with thread, iron, pins
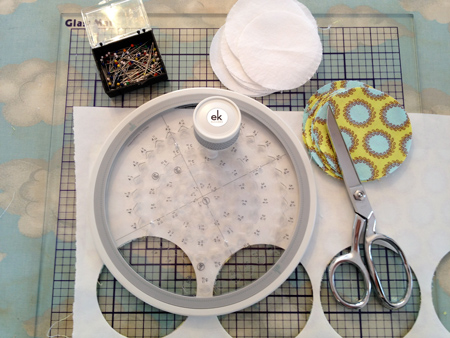
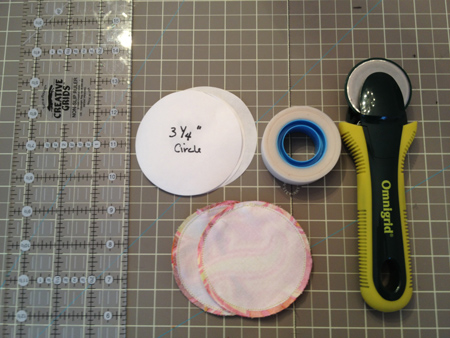
EK Tools® Circle Scissor – EKPL1006
EK Tools® Glass Mat – EKGMAT13
EK Tools® Honey Bee Scissors - EKCB06
Simplicity® SewSimple™ pattern #2011
Apron Fabric – 1 1/8 yard
Contrast Fabric – 1 yard
Sew-in Interfacing – ¼ yard
Ruler, Rotary Cutter, Self-Healing Mat
Fabric Scissors
Freezer Paper
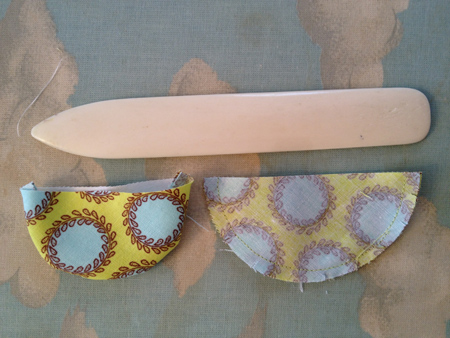
Point-Turner
Bias Tape Maker
What To Do:
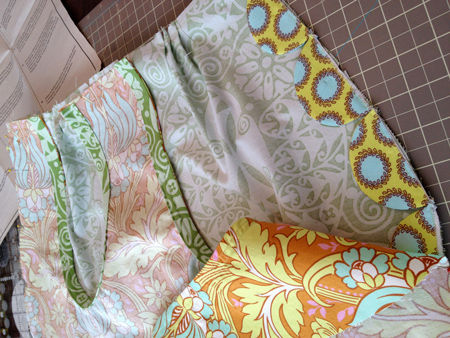
- Follow the pattern instructions to cut out the pattern pieces. Make the pleats on the upper edge of the apron.
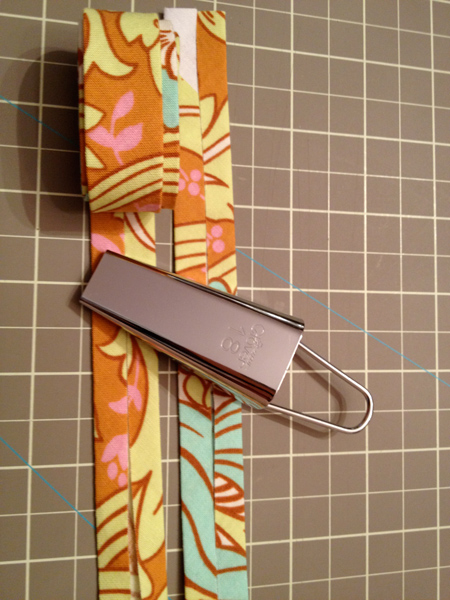
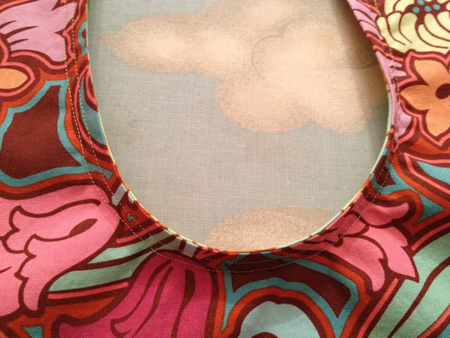
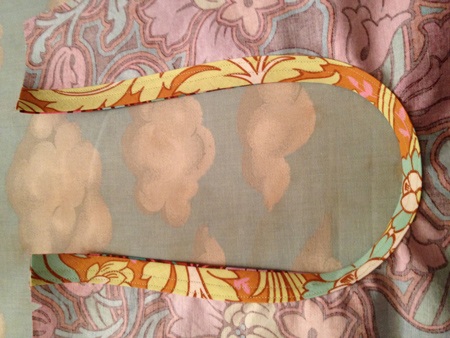
- Instead of applying rick-rack on the edges of the pocket, sew on 1” bias tape to finish the edge. Begin by cutting a 24 x 1 ½” strip of contrasting fabric on the bias of the contrasting fabric. Using a 1” Bias Tape Maker, create a 1” piece of finished bias tape.
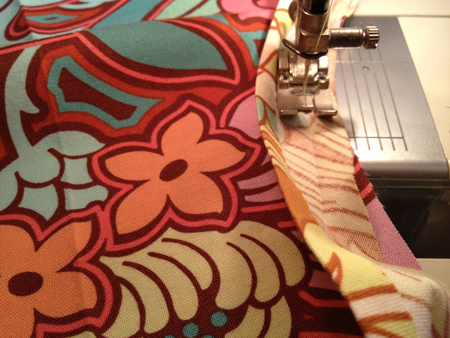
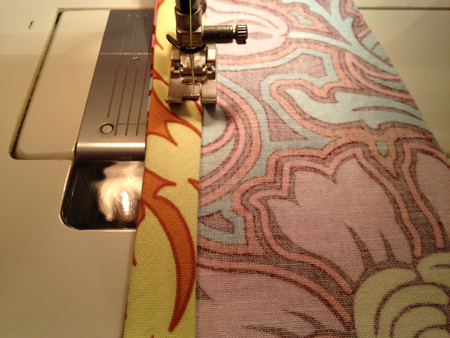
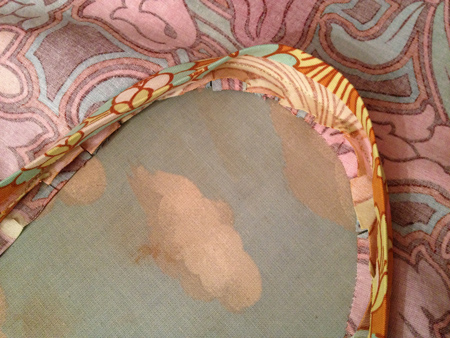
- Sew the bias tape around the pocket opening with a ¼” seam allowance (right sides together).
- Clip around the curve to create ease, and then iron the bias tape to the inside of the pocket. Stitch along the edge of the bias tape with two rows of stitching placed 3/8” apart.
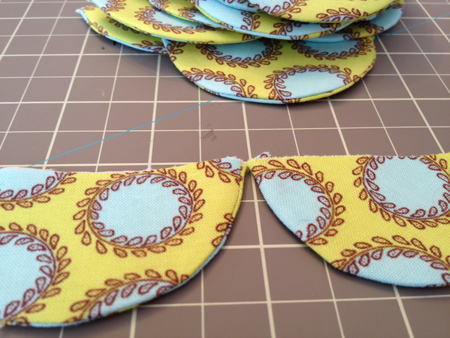
- Instead of applying rick-rack around the edge of the pocket, create a fun scallop edging from circles. Begin by ironing freezer paper to scraps of a contrasting fabric and sew-in interfacing fabric. Using the EK Tools® Circle Scissor, cut sixteen 3 ¼” circles from the contrasting fabric and 16 3” circles from the sew-in interfacing fabric.
- Place two 3 ¼” circles, right sides together, with a sew-in interfacing 3” circle on top, sew around the circle, using the 3” interfacing circle as a guide.
- Cut the circles in half, clip the edges and press.
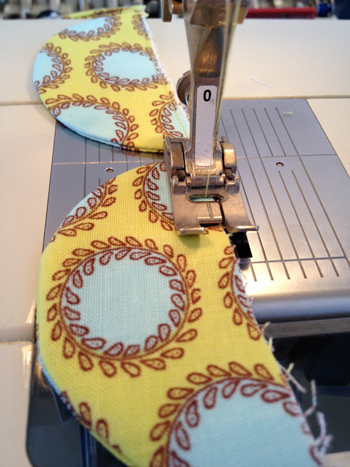
- Sew the half circles together as a chain and pin to the WRONG side of the apron centering the chain along the bottom center of the apron.
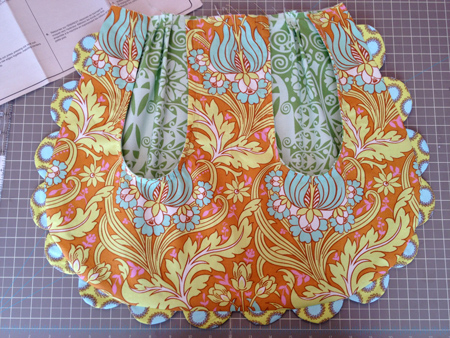
- Pin the RIGHT side of the apron overlay to WRONG side of apron, matching centers, small dots and having raw edges even. Stitch side and lower edges along seam line catching the scallop edge. Trim seam; clip curves.
- Finish the apron from Step 6 of the Simplicity® SewSimple™ #2011 pattern instructions.
Sewing Machine Featured in this Segment:
Innov-ís NX2000 Laura Ashley® Limited Edition Sewing Machine
With Zig Zag “J” Foot

|