| |
www.itsseweasytv.com |
| 603-2 | Print | Close [X] |
Easy Dress Embroidery – Eileen Roche Watch the video for this project online at: http://youtu.be/64XQBWgRi9A |
For More Information Visit: |

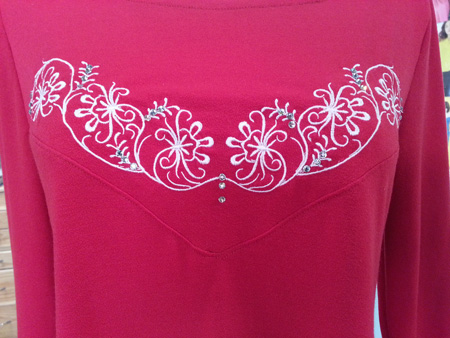
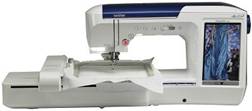
Stitch, Cut and Sew Custom clothing, designed by you, is fairly easy to achieve. You’ll need a few hours of your time, a pattern from a reputable company, appropriate fabric, stabilizer and gorgeous embroidery designs. Since all the embroidery is stitched on flat fabric, placement and hooping is a breeze. Here’s how to do it. Trace the thumbnail of the pattern and then doodle on the sketch. Your doodling represents the embroidery and gives you an idea of where the eye is drawn on the figure. On these two tunics, I started at the neckline because embroidery near the face flatters most figures and draws attention to your smile – your best feature! A thumbnail sketch is a good ‘go-by’ (magazine lingo for a look you’re trying to achieve) but actual size is best. Use the go-by to make the embroidery layout in actual size. Print templates of the embroidery designs you intend to use. Set aside for now. Open your pattern and find the section that will display the embroidery. Trace the section onto a large sheet of paper. Most pattern pieces are cut on two layers of fabric so you have to trace it once then flip the pattern and trace it right next to the first tracing. Now play with your embroidery design templates. Audition them on the pattern piece. Use a digital camera to document the different positions then review your images. Once you decide on a favorite, pin the templates to the pattern. Place the pattern on the fabric and trace the outline. Cut the fabric leaving ample seam allowance for hooping. Take the cut fabric piece and hold it on your figure or place it on a dress form to view. Critique the position of the embroidery. Make sure it’s flattering your figure and not drawing attention to areas you’d rather camouflage. Now, transfer the crosshairs for the embroidery onto the fabric. I use target stickers because they stay in place until I remove them and don’t leave a mark. Once all embroidery is complete, place the pattern section on the embroidered fabric and cut the fabric. Follow the pattern instructions for completing the garment. Here’s a bit more detail. Embroidery Products Materials needed: Instructions: Place the template on tunic pattern yoke section. If you’re pleased with the arrangement and size of the border, save the design, if not, make the appropriate adjustments and then save the design. Trace the tunic pattern yoke section onto the fabric. Cut out the yoke leaving ample room around the tracing for hooping. Hoop the fabric with cut-away stabilizer and stitch the design. Mirror image the design and repeat for the opposite side. Follow the pattern instructions for completing the garment. Sewing Machine Featured in this Segment:
|
Host: Eileen Roche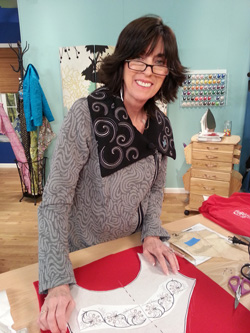 |
| Copyright © 2019 It's Sew Easy. All Rights Reserved. |