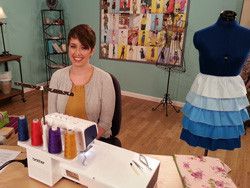
Serging Basics - Amy Alan
Materials Needed:
- Thread snips
- Serger Thread
- Tweezers
- Serger
- 2” x 18” fabric strips for making stitch samples
- Sewing pins
4-thread overlock
This stitch uses both the upper looper and the lower looper, and also both needles. It is a very strong stitch, and it’s perfect for seaming. Because it is so durable, it’s one of the most commonly used serger stitches. To set up your serger for this stitch, first check your machine manual to read over the correct threading sequence. The most common sequence is upper looper, lower looper, right needle and then left needle. After you have threaded your machine, always lower your presser foot and create a thread chain before making a stitch sample.
Stitch Tip:
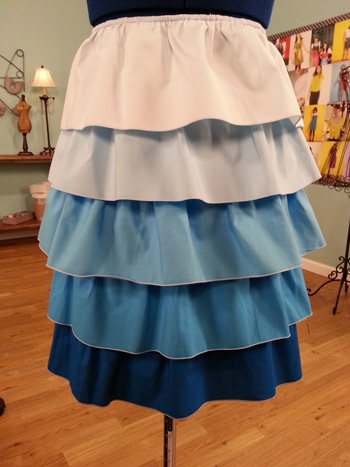
Use when gathering (tighten the needle tensions) for more dramatic ruffling.
3-thread overlock (use left or right needle)
To set up this stitch, use the upper looper, lower looper, and one of the needles. Choosing to use the left needle is best for thick or medium weight fabric, and the right needle is best for thin fabrics. Remove the needle that is not being used. This stitch is a nice choice for seaming, as long as the stitch won’t have lots of stress put on it. It is also a great stitch choice for finishing fabric edges.
Stitch Tip:
This is one of the easiest stitches to pair with thick decorative threads.
3-thread flatlock
Using the same serger set-up as the 3-thread overlock, the tensions are adjusted to create a stitch that lays completely flat when opened. The needle thread tension should be very loose, and the lower looper tension will be very flat to form a straight line of thread down the side of the stitch. The upper looper tension stays near the standard setting. This stitch can be used along a fold or two edges of fabric, and then opened so the fabric lays flat. The stitch has two optional sides for you to use on your projects. One looks like ladders, and the other side is a series of loops. It is a great choice for seaming sportswear and adding decorative threads to a project.
Stitch Tip:
Once the stitch is opened up, ribbon can be fed thru the ladder side of the stitch for added color.
3-thread rolled hem
The upper looper, lower looper and right needle are used for this stitch. The lower looper tension will be tight, and the upper looper tension will be set a bit higher than the standard setting. The needle tension usually is not changed from the standard setting. The stitch finger should be removed so that the fabric is encouraged to roll under. This may require that you remove and replace the stitch plate on your machine, so check your machine manual for exact set up. This is a wonderful stitch for hemming lightweight fabrics, and works very well with decorative threads. It does not work well on thick fabrics.
Stitch Tip:
Use a decorative thread such as textured nylon for a very full rolled hem stitch.
Stitch Tips
• If a stitch is too narrow, it may not be durable or press flat
• If a stitch is too wide, it can cause puckers in the seam
For more information visit www.reallyhandmade.com .
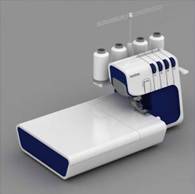
Sewing Machine Featured in this Segment:
Brother 5234 PRW Project Runway Limited Edition Serger
|