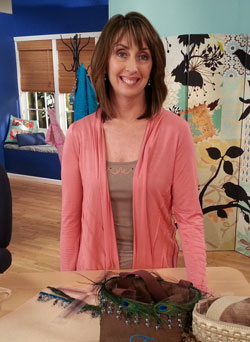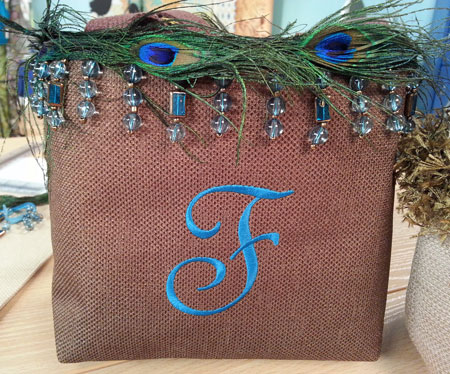
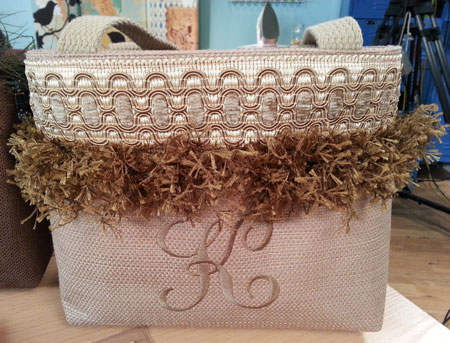
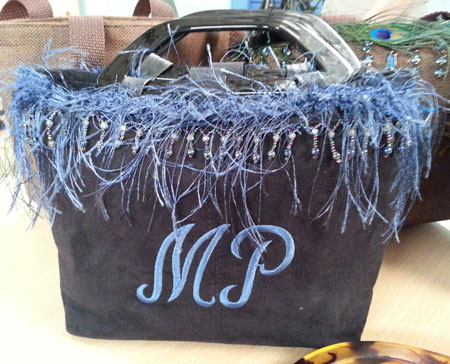
Monogrammed Placemat Purse- By Marie Zinno
Materials Needed
1 lined stabile placemat
1 set handles or 1 yard webbing
23 inches each of decorative trim (beads, eyelash fringe or feathers)
1 magnetic snap closure
Painters Tape
Chalk
Embroidery Products Needed
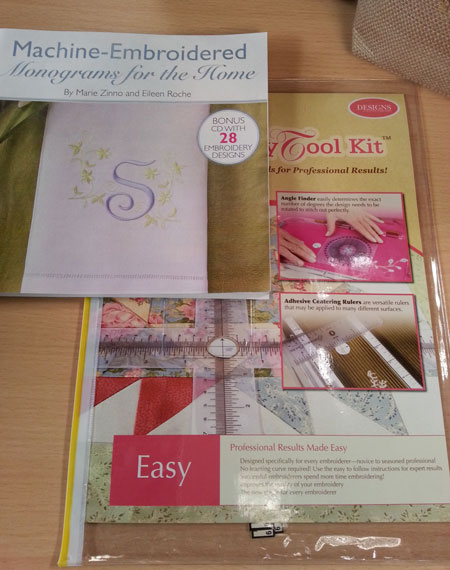
Monogram lettering- Savannah 3 inch tall font included in Machine EmbroideredMonograms for the Home Book-Marie Zinno& Eileen Roche available from Designs in Machine Embroidery www.dzgns.com
Tear away stabilizer
Centering ruler- included in Embroidery Tool Kit available from Designs in Machine Embroidery Magazine www.dzgns.com
Target sticker- included in Embroidery Tool Kit
Snap Hoop – 5x7 size www.dzgns.cm
Step1.
Lay the placemat on a flat surface vertically. Fold the placemat in half and place the centering ruler on top. Place the target sticker in the center hole approximately 4 inches down from top edge of placemat. This will mark the location for the monogram or initial to be embroidered.
Step2.
Select the initial needed from the Savannah font 3 inch tall lettering on the CD of Machine Embroidered Monograms for the Home book. Save the initial on a USB stick or write to your machine.
Step3.
Place the tear away stabilizer and placemat in your Snap Hoop; keep target sticker in place until needle bar is aligned with cross hair on target sticker. Make sure the initial will be embroidered in the correct orientation. Embroider the initial and remove from hoop. Remove excess stabilizer from wrong side of placemat.
Step4.
Sew the short sides of the placemat together; reinforce the top edges at the seams. Take the bottom corner of placemat and fold into a triangle. Press down on the sewn seam and measure a 2 inch triangle from point towards the inside of purse. Sew across the triangle and the 2 inch mark to “box” the bottom. Repeat for opposite side of purse bottom. The purse shape is now formed into a “bucket” shape.
Mark with chalk 2 inches down form center top of purse to add the magnetic closure. The magnetic closure should be above the initial and centered on both sides of purse. Open up the top center edge of purse with a seam ripper (approximately 4 inches long). With a pencil on the inside of purse mark the area for the magnet. Repeat for opposite inside of purse. Follow directions on the closure to insert the magnet .After magnet is inserted, sew the top edge back together.
Step5.
Add the webbing handles to each side of purse. It is best to determine the length of handles you prefer by pinning the webbing sections to the purse before you cut each length. Generally, 16 inches per handle is a comfortable length. Mark with chalk where each handle will be placed. Measure for accuracy and repeat for opposite of purse; make sure handles are even on both sides. Open each 4 sections at the top edges with a seam ripper, about 2 inches wide. Insert the webbing straps and sew in place, reinforce the straps.
Step6.
Sew the decorative trim at the top edge of the purse, starting and finishing in the back of purse. Use a small section of clear tape on the wrong side of beaded trim to keep from separating. The tape will be hidden by feathers or fringe.
- Designer’s tip- Audition all beaded trim and feathers on the purse before the initial or monogram is embroidered. The trims should not cover the monogram; move the monogram down or shrink design to fit if needed. Mark with tape where the beaded trim will lay and do not embroider below that location.
- Select a placemat that is sturdy and lined. Most placemats can be easily spot cleaned.
- Get creative with a variety of trims (sequins, beads, pom-pom trim, tassels) etc. are fun embellishments.
- Use interesting purse handles, up-cycle from old purses or purchase new at craft stores.
www.sewcreativeemb.com
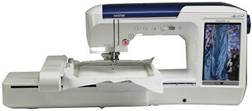
Sewing Machine Featured in this Segment:
Brother Quattro 3 – 6750D - Sewing, Quilting, Crafting and Embroidery Sewing Machine
|
