Monogrammed Boot Socks
By Marie Zinno
Products Needed
Embroidery Software-Lettering/Monogramming Fonts
(Calligraphy Lettering Software-Roman Font, Formal Monogram)
Embroidery Tool Kit- Large Centering Ruler, target stickers
Soft tear away stabilizer
Water soluble stabilizer
4X4 embroidery hoop
1 sweater purchased from resale or thrift store (ribbed knit works best)
2 yards stretch trim or lace
Step 1.
Wash and dry your purchased sweater. Place sweater on flat surface and carefully cut the sleeves off the sweater at under arm seam. Try on one sleeve for size, keep wrist portion at the bottom of you ankle, with actual boots to be worn. If sock portion is too long, cut from top edge. The length is determined by the height of the boot. Most boot socks land approximately 2 -2 1/2 inches above the top edge of boot. Take into consideration the type of trim that will be added at the top of sock. The width of the upper sleeve may be too wide to fit without falling down the leg. We will adjust the width after embroidery is complete. It is easier to hoop the fabric before it altered.
Step 2.
Position the sewn seam of the sleeve to the inner leg of the boot sock. Lay the two sleeves side by side on the table and lay the large centering ruler (Embroidery Tool Kit) on the upper portion of the sleeve. Measure down 3 inches from top edge, centered on sleeve and place a target sticker in the hole. Follow same steps for remaining boot sock. Hoop the socks, one at a time, in a 4x4 hoop with tear away stabilizer. Do not over stretch the knit fabric when placing in the hoop.
Step 3.
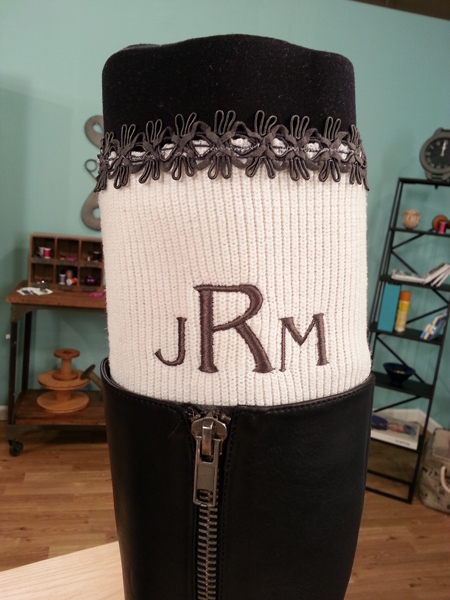
Select the monogram font from the embroidery software and size it to 1.75 inch tall. Save the monogram to a USB stick or send to embroidery machine. Position the needle under the cross hair on target sticker, remove before stitching. Place the water soluble stabilizer on top of knit fabric to keep the thread from sinking into fibers.
Step 4.
Stitch the monogram on both boot socks, remove excess stabilizer when complete. Try on each boot sock inside out. Mark with pins where any alteration should be. (Make sure it is fitted and will not fall down leg). Sew from bottom to top along stitched seam with a 3.0 stitch. Trim excess fabric if needed and lay seams flat .Top stitch to hold in place.
Measure the width of the finished top edge and multiply by 1.5 inches. Cut the stretch trim as calculated. Sew the trim into a circle right sides facing. (You will have a loop of trim). Add the stretch trim to top edges of boot socks by placing the trim over the boot sock, right sides facing. Use a stretch stitch to sew in place, stretching the trim as needed to fit around top edge.
For more information visit: www.sewcreativeemb.com
Sewing Machine Featured in this Segment:
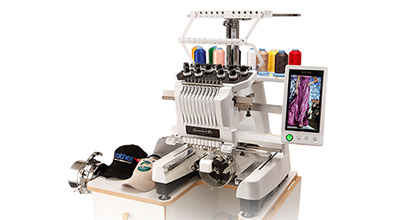
Brother Entrepreneur® Pro PR-1000e

|


