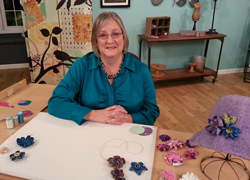

 802-1_Instructions (PDF) 802-1_Instructions (PDF)
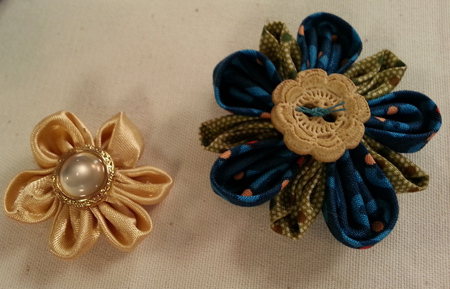
Pointed Flower
Materials
5 fabric circles (sample uses 3" diameter)
Heavy-duty or quilting thread (such as Coats & Clark Dual Duty XP Heavy or Hand Quilting Thread)
Hand sewing needle – Chenille needles are good, with their large eyes and sharp points.
Use the finest needle that's comfortable for you, because thinner needles slip through multiple fabric layers more easily.
Instructions
- Thread the needle and knot the end.
- Fold a fabric circle in half twice, wrong sides together. See Figure 1.
- Sew running stitches about 1/8" from the curved raw edges. Make the stitches about 1/4" long. See Figure 2.
- Fold the second circle and gather it, using the same thread. See Figure 3. Repeat for the other petals.
- When all five petals are on the thread, tie the ends together in a knot, making the circle at the center as tight as you can. Finish the center with a button, bead, or yo-yo.
TIP: You can glue or sew the center ornament to the flower. If you want to sew it in place, consider putting a felt circle on the back of the flower to give the stitches a firm anchoring place.
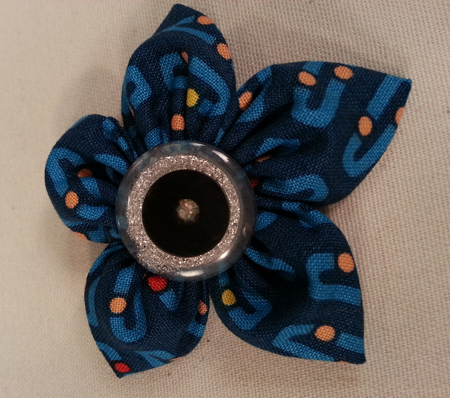
Round-Petal Flower
Materials
6 fabric squares (sample uses 3" squares)
Heavy-duty or quilting thread (such as Coats & Clark Dual Duty XP Heavy or Hand Quilting Thread)
Hand sewing needle – Chenille needles are good, with their large eyes and sharp points.
Use the finest needle that's comfortable for you, because thinner needles slip through multiple fabric layers more easily.
Instructions
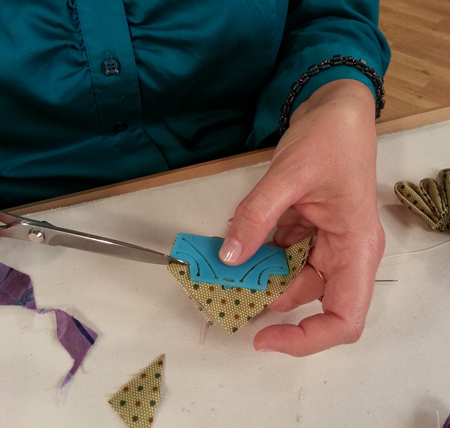
- Fold the first square in half diagonally, wrong sides together, and place it on the table with the fold at the top (away from you). See Figure 4.
- Fold the right and left corners down to meet the bottom corner and finger press. This makes a square. See Figure 5.
- Flip the square over from left to right. The opening will still run vertically, just on the underside now. Fold the left and right corners to meet at the center. See Figure 6.
- Fold the piece in half, toward you, so the corners you just folded are inside; this will be the back of the petal. See Figure 7.
- Run the threaded needle through the folds, making sure you catch the edges on the inside, too. Leave the fabric on the needle while you trim the petal base straight across, in line with the point of the diagonal raw edges. See Figure 8. Pull the needle through the folded fabric to gather and secure the petal.
- Continue making and adding petals. When the last petal is in place, run the needle back through the first petal to close the circle. You may find that the flower shape is better if you don't pull too tight.
- Finish the center with a button, bead, or yo-yo.
Unlike paper origami, the folds in these petals don't have to be perfect. But if they seem daunting, there is another way. Look for Clover's Kanzashi Flower templates, which can be used to make the same petal shape and several others.
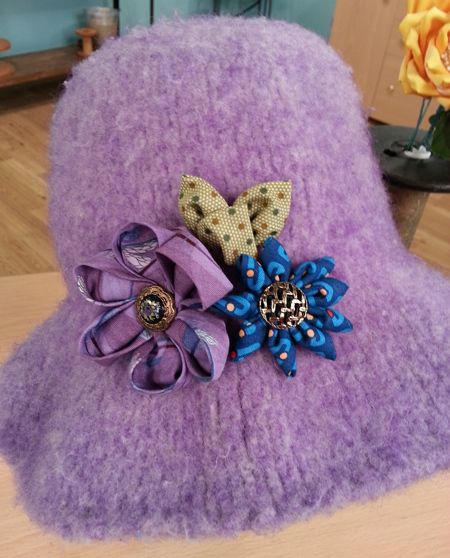
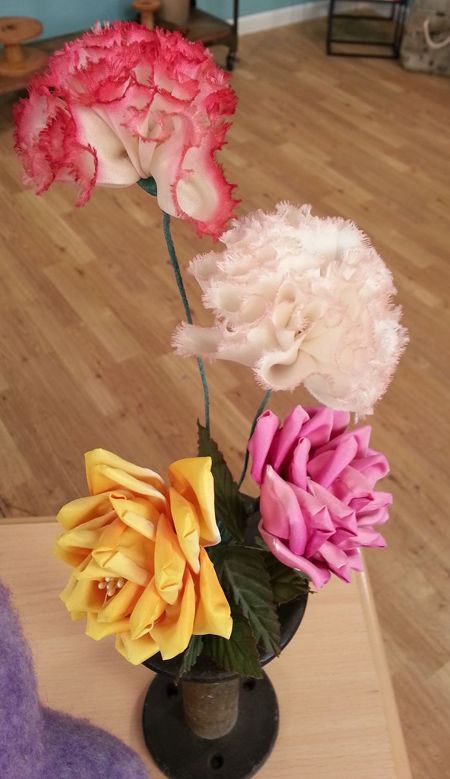
Using Fabric Flowers
- Decorate a hat, bowl, or pillow.
- Add a jewelry finding to the back for a removable pin.
- Use tiny flowers to decorate bobby pins or even earrings.
- Because the flowers use only small pieces of fabric, they're a great scrap craft. Mine old ties for fabulous silks, or turn the scraps from a special-occasion dress into a keepsake that never wilts.
For more information:
www.rkbrent.com
|
Please note that the instructions for this project are in PDF format and require Adobe Reader or a compatible viewer:
Adobe Acrobat reader can be downloaded for free at:

Please Note: Some of the PDFs are large and can take time to download and display. Visitors with low bandwidth connections or older computers may wish to right click on the links and choose "Save Target As" to download the file directly to your system before viewing. |
|